
前言:
KubeSphere 是一个开源的、基于 Kubernetes 的 容器管理平台,提供完整的容器编排、DevOps、微服务治理、多租户管理、监控告警等功能,只能说它的功能已经是相当完善了,废话不多说,我们开始吧。
内容概述:
Kubenetes的安装和部署
Kubesphere的安装和部署
1.Kubenetes的安装和部署
这里可以参考官方文档:
因为我目前手里刚好只有一台闲置的服务器,所以只能以试着用All-in-one的模式来安装他,如果你想使用集群的话,也可以参考文档,当然你也可以跟着我的步骤一起安装是一样的
安装依赖项
sudo apt install socat conntrack ebtables ipset -y创建Kubenetes集群
设置区域,一般我们访问goole都是有限制的,所以这一步很重要,如果不设置的话你会下的非常非常慢,下载觉得下的很慢的话可以多执行几次。
export KKZONE=cn执行命令下载Kubekey的最新版本
curl -sfL https://get-kk.kubesphere.io | sh -下载完成后当前目录下将生成 KubeKey 二进制文件kk
执行以下命令为 KubeKey 二进制文件 kk 添加执行权限:
sudo chmod +x kk执行以下命令创建安装配置文件 config-sample.yaml:
./kk create config --with-kubernetes <Kubernetes version>将 <Kubernetes version> 替换为实际需要的版本,比如1.28.12。这里的K8s的版本你可以自行选择,提醒一下,K8s1.24之前的版本用的dokcer来当作容器运行时,1.24版本以后用的是contained来作为容器运行时,所以1.28版本对我来说是已经足够我学习了。
安装完成后,请勿删除安装配置文件 config-sample.yaml,后续进行节点添加等操作时仍需要使用该文件。如果该文件丢失,您需要重新创建安装配置文件。
修改配置文件config-sample.yaml
## 如果使用 NFS 存储系统,在 spec:addons 下设置以下参数(将 <configuration file path> 替换为存储插件配置文件的实际路径)
 - name: nfs-client
    namespace: kube-system
    sources:
      chart:
        name: nfs-client-provisioner
        repo: https://charts.kubesphere.io/main
        valuesFile: /nfs/data/values.yaml
## 确保你将 /nfs/data/values.yaml 替换成你实际准备的配置文件路径
vim /nfs/data/values.yaml
nfs:
  server: 192.168.0.77  #  你的NFS服务器地址(可以是本机IP)
  path: /nfs/data        #  你在服务端导出的路径

storageClass:
  name: nfs-client
  defaultClass: true
reclaimPolicy: Retain执行安装执行以下命令创建 Kubernetes
./kk create cluster -f config-sample.yaml安装期间出现如下类似报错:
pull image failed: Failed to exec command: sudo -E /bin/bash -c "env PATH=$PATH crictl pull registry.cn-beijing.aliyuncs.com/kubesphereio/pause:3.9"
FATA[0000] validate service connection: validate CRI v1 image API for endpoint "unix:///run/containerd/containerd.sock": rpc error: code = Unimplemented desc = unknown service runtime.v1.ImageService: Process exited with status 1 ...
解决:
## 生成默认配置
containerd config default | sudo tee /etc/containerd/config.toml > /dev/null

## 编辑配置文件
sudo vim  /etc/containerd/config.toml
## 关键位置
disabled_plugins = []
[plugins."io.containerd.grpc.v1.cri"]
  enable_unprivileged_ports = true
  sandbox_image = "registry.cn-beijing.aliyuncs.com/kubesphereio/pause:3.9"
## 重启服务
sudo systemctl restart containerd

## 确保配置是类似下面这样的
cat /etc/crictl.yaml
runtime-endpoint: unix:///run/containerd/containerd.sock
image-endpoint: unix:///run/containerd/containerd.sock
timeout: 10
debug: true

## 出现类似json格式的表示成功
crictl info

## 重新安装
出现如下信息表示安装成功
15:04:45 CST success: [LocalHost]
15:04:45 CST Pipeline[InstallAddonsPipeline] execute successfully
15:04:45 CST success: [LocalHost]
15:04:45 CST Pipeline[CreateClusterPipeline] execute successfully
Installation is complete.
Please check the result using the command:
        kubectl get pod -A
2.Kubesphere的安装和部署
安装helm
curl https://raw.githubusercontent.com/helm/helm/main/scripts/get-helm-3 | bash执行以下命令安装 KubeSphere Core
helm upgrade --install -n kubesphere-system --create-namespace ks-core https://charts.kubesphere.com.cn/main/ks-core-1.1.4.tgz --debug --wait --set global.imageRegistry=swr.cn-southwest-2.myhuaweicloud.com/ks --set extension.imageRegistry=swr.cn-southwest-2.myhuaweicloud.com/ks出现如下信息表示成功
NOTES:
Thank you for choosing KubeSphere Helm Chart.
Please be patient and wait for several seconds for the KubeSphere deployment to complete.
1. Wait for Deployment Completion
Confirm that all KubeSphere components are running by executing the following command:
kubectl get pods -n kubesphere-system
2. Access the KubeSphere Console
Once the deployment is complete, you can access the KubeSphere console using the following URL:
http://192.168.0.77:30880
3. Login to KubeSphere Console
Use the following credentials to log in:
Account: admin
Password: P@88w0rd
NOTE: It is highly recommended to change the default password immediately after the first login.
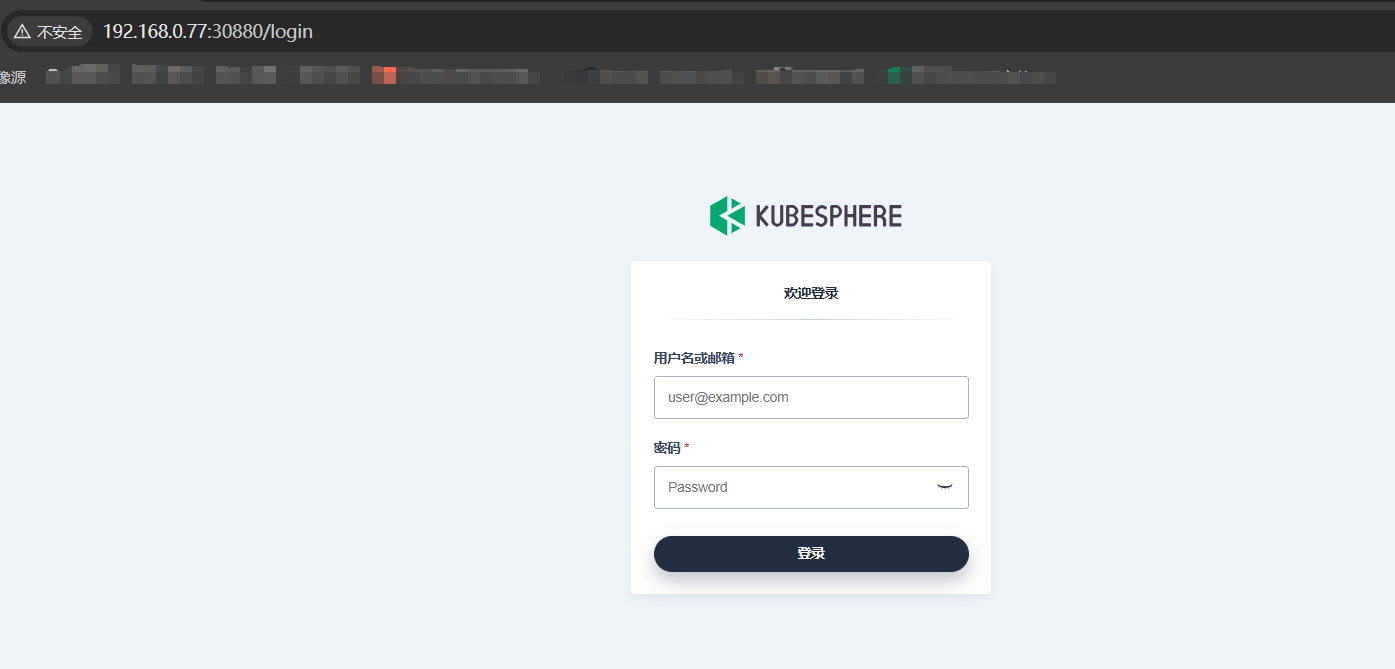
For additional information and details, please visit https://kubesphere.io.登录网址查看
评论